
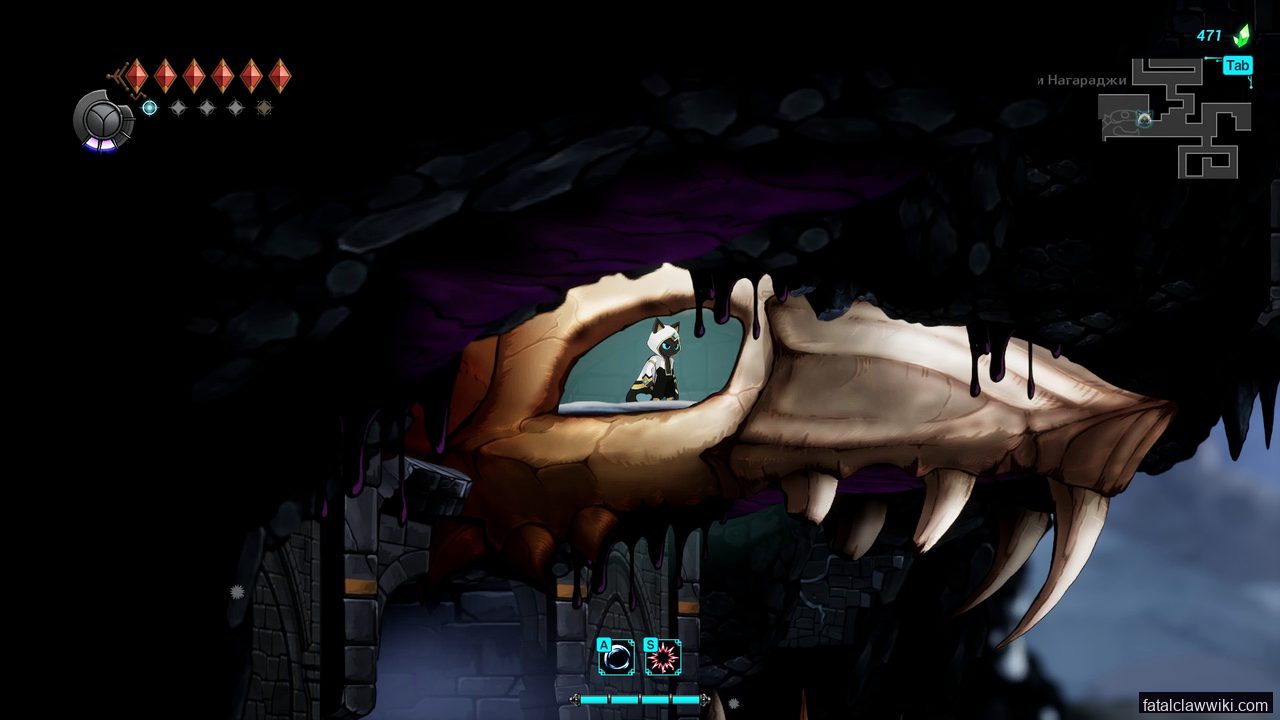
This thread collects player-discovered tactics for Kurtz. The main divide is between ‘rush him with a deep Cabitz setup’ and ‘wait him out and use Blink to control distance.’ Both work — your route state decides which one finishes the fight faster.
What the wiki design notes say about Kurtz
Out of the formal guide (linked above), the load-bearing mechanics on Kurtz are:
- Two phases. Phase 1 is wide-arcing and rewarded by blink-punish. Phase 2 adds a follow-up that closes the gap you just opened.
- Blink regen is location-driven, not kills-driven. Stands in the arena each reset blink once.
- The arena has two designated breakpoints. Sprinting to either restocks blink without taking a hit if you know the cycle.
If you’re missing that second point — regen is location-driven — Horton’s complaint (“there isn’t enough places to regen your blink”) is the exact failure mode. You’re looking for blink drops off kills. There are none.
What the community found in the replies (paraphrased)
Three threads jumped out in the top of the discussion. The good ones, the ones that actually advance the fight:
1. “You can parry the follow-up. I didn’t know until someone said it.”
Yeah. Kurtz’s phase-2 follow-up is parryable on the second wave of the sequence, not the first. Players who learned this cut their attempts roughly in half. The wiki boss guide references it as a “punish window,” but the Steam replies are what made it real. Search the thread for “parry the follow-up” and you’ll find the timing explanation.
2. “Don’t try to greed the second blink restock.”
The arena has two restock pillars. One is reachable only by committing to a full sprint after the swipe. The other is reachable by dogging one of the arena AOE rings. Players in the discussion pointed out that grabbing both in one cycle is what kills most runs. You either sprint or you dodge. Picking neither and trying to hit both on the same cycle burns your last blink and gets you killed by the next wave.
One player literally wrote: “I tried to do the pillar dance for both back-to-back and that’s how I kept dying. Pick one, commit, and reset between tries.”
3. “If you’re burning through more than 4 attempts, you’re probably out of position.”
Multiple replays of the visible top replies contain this exact thing: the kill isn’t positional until phase 2. Phase 1 is a stamina fight; you stand in one safe zone and punish. Phase 2 is when position matters. Players who “figured out” Kurtz usually did so once they let phase 1 be boring.
Aggregated loadout
Across the thread, the consistent “works” build:
- Burst damage on wake-up — open with a heavy after the opening dash, then reset position.
- Blink regen setup — go in with 3 blink stock. Each restock pillar gives 1. Don’t burn the third.
- Patience > greed — every reply that mentions attempts to kill under 3 cycles comes from a player who later said “yeah okay, that was a fluke.”
If you’ve burned 8+ attempts and you’re not seeing progress, the answer isn’t to grind the kill. The answer is to stop trying to parry the first follow-up wave. Just get hit. Read the second wave.
Thread snapshot
Steam — Black Mire Boss - Kurtz (11 replies, started by Horton)
For the design side (HP, resistances, attack list), see the wiki’s Kurtz boss guide.